How to Edit Text in a Screenshot (Without Retaking It)
A practical, step-by-step guide to editing text in a screenshot with AI — fix typos in UI captures, refresh app mockups, and localize screens without Photoshop.
TL;DR
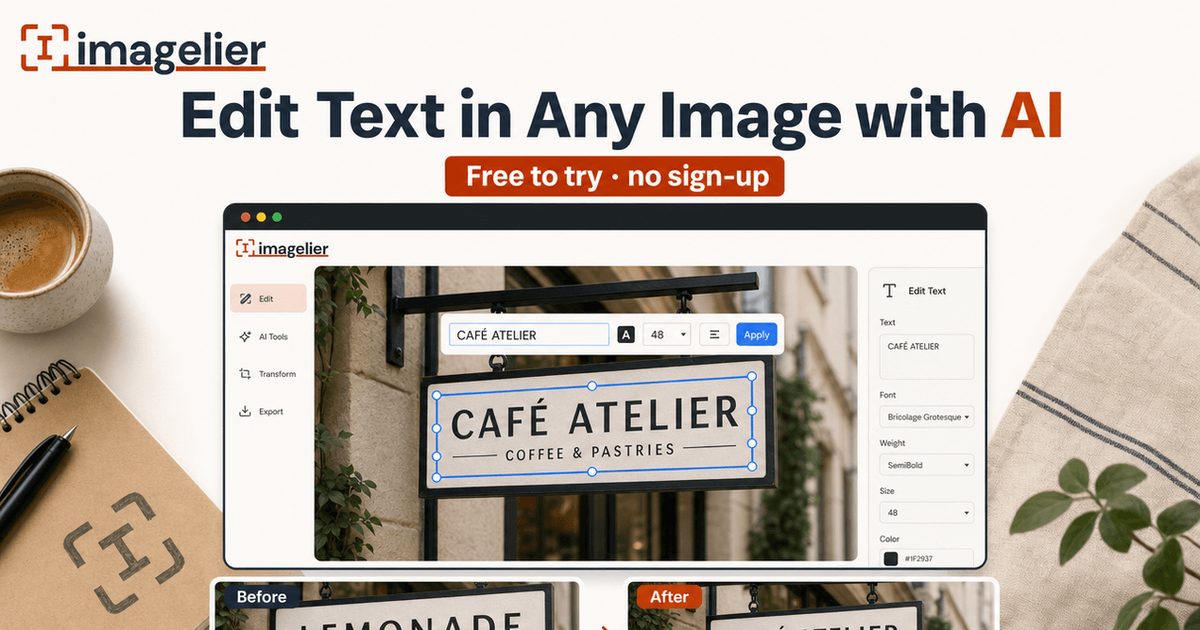
To edit text in a screenshot, upload it to an AI image text editor that detects the existing words with OCR, removes the original letters while restoring the background, and renders your replacement in the same place. Click the detected line, type the new wording, preview the result, and download the edited file. You can do this directly in the Imagelier editor in your browser — no install, no Photoshop, and no retaking the screenshot.
Why You Cannot Just Select the Text
A screenshot is a flat raster image. The moment you capture a screen, every button label, heading, menu item, and paragraph stops being text and becomes pixels. There is no text layer to click, no font object to change, and no way to ask the original app for an undo. That is also why there is no built-in way to edit text in screenshot files on Windows or macOS: markup tools can draw boxes and arrows on top of the image, but they cannot change the words underneath.
So when someone asks how to edit text in a screenshot, they are really asking three questions at once:
- How do I remove the original text without leaving smudges?
- How do I rebuild the background that was behind the letters?
- How do I render new text that matches the original UI style?
Photoshop answers all three manually: select the area, clone or heal the background, retype the text, match the font, and export. An AI image text editor answers them automatically. Imagelier is built specifically for this job: OCR finds the text regions, AI inpainting removes the old letters and restores the background, and the editor renders your replacement in place. If you want the broader picture beyond screenshots, read the full guide on how to edit text in an image with AI, and if your captures are chat or messaging screens specifically, the chat screenshot editor page covers that workflow in detail.
The 5-Step Workflow
1. Start With the Cleanest Capture You Have
Screenshot quality decides most of the outcome before any AI is involved. If you still have access to the original screen, recapture it at full resolution instead of editing a compressed copy that went through a chat app or email. PNG is the better screenshot format because it is lossless; JPEG compression adds noise around high-contrast letter edges, which makes both detection and background restoration harder.
If the screenshot came from a high-DPI display, keep the 2x version. More pixels per letter means the OCR reads the text more reliably and the replacement text has room to render crisply.
One question to answer before you upload anything: is this screenshot yours to edit, and is the edit honest? Updating your own product UI capture, fixing a typo in your documentation, or preparing a localized demo screen are all normal. Editing a screenshot so that it misleads someone about what really happened on a screen is not an acceptable use, and Imagelier's Terms prohibit it.
2. Upload the Screenshot
Open the Imagelier editor and upload the file. PNG, JPEG, and WebP are supported. You do not need an account to try it — free outputs are watermarked and limited to 720 px on the longest side, which is usually enough to judge whether the edit works before you commit to anything.
3. Let OCR Detect the Text
OCR (optical character recognition) scans the screenshot and returns each text region with coordinates, which is what makes the editor clickable. Screenshots are actually one of the friendliest inputs OCR ever sees: the text is rendered by an operating system, perfectly horizontal, evenly spaced, and set against flat UI surfaces. Compared with photos of menus or posters, detection on screenshots is usually fast and accurate.
It is still worth reviewing the detected regions. Very small caption text, low-contrast placeholder text, and text inside icons can be missed or split across lines. If a line you need is not detected cleanly, crop the screenshot tighter around the area and upload again.
4. Click a Line and Type the Replacement
Click the detected line you want to change and type the new wording. Choose a font and color close to the original UI. Most interface text uses a plain sans-serif, so a near match is usually easy — the harder constraint is length. Buttons, labels, and table cells were designed around the original string, so a replacement that is roughly the same length will look natural, while a much longer one will crowd the layout.
Behind the scenes, this is where the AI does the real work: it erases the original letters and reconstructs the background that was behind them. Flat fills, subtle gradients, and card surfaces — the typical anatomy of an app screenshot — are close to the ideal case for inpainting, which is why screenshot edits tend to look cleaner than edits on busy photographs.
5. Preview, Download, and Compare
Zoom in on the edited region and compare it against the original. Check the letter spacing, the baseline alignment, and the area where the old text was removed. If you see faint traces, try a shorter replacement or a tighter crop. When the result holds up, download it. Free downloads include a watermark at 720 px; the Pro plan produces high-resolution output with no watermark for production use — see pricing for details.
Imagelier vs Photoshop vs Canva vs Built-in Markup Tools
| Tool | Best for | How it handles screenshot text | Tradeoff |
|---|---|---|---|
| Imagelier | Replacing existing text in a flat screenshot | OCR detects the lines, AI removes the old words and restores the background, replacement renders in place | Focused on text replacement, not a full design suite |
| Photoshop | Pixel-perfect retouching | Manual selection, clone/heal the background, retype and match the font by hand | Powerful but slow and paid; overkill for a one-line fix |
| Canva | Building a new mockup from scratch | Works best when you recreate the screen as an editable design rather than editing the capture | Recreating a real UI screenshot takes far longer than editing it |
| macOS Preview / Windows Snipping Tool | Quick annotation | Draws boxes, arrows, and new text on top — the original words stay underneath | Cannot remove or replace existing text at all |
The short version: markup tools annotate, design tools recreate, Photoshop retouches, and an AI text editor replaces. Pick based on the job. If the job is "this screenshot is correct except for these words," replacement is the fastest honest path.
What People Actually Use This For
UI Mockups and App Demos
Product and marketing teams constantly need screens that show a specific state: a dashboard with this quarter's label, a pricing card with the new plan name, an onboarding step with updated copy. Rebuilding the app state just to capture one screenshot is slow. Editing the text in an existing capture gets the demo or landing-page asset done in minutes, and it is your own product, so the edit is exactly as legitimate as the design file it mirrors.
Fixing Typos in Documentation Screenshots
Documentation ages: a button was renamed, a menu item moved, or the original capture simply contains a typo that made it past review. When the interface itself barely changed, replacing the outdated words in the existing screenshot is much faster than reinstalling an old version or re-staging the exact state for a fresh capture.
Localizing App Screens
Localization teams often need English-market variants of screens that were captured in another language, or vice versa, before the localized build exists. Replacing the visible strings in the screenshot produces a realistic preview for store listings, decks, and review meetings without waiting for engineering.
Anonymizing Sensitive Values
Screenshots leak data: names, emails, order numbers, account balances. Replacing real values with neutral placeholders like "Jane Doe" or "user@example.com" keeps a tutorial or support article realistic while removing personal information. This is one of the most practical everyday uses of screenshot text editing.
Tips for Better Results
- Prefer PNG sources over JPEG; recapture instead of editing a re-compressed copy.
- Keep the replacement close to the original string length.
- Match the text color exactly — UI grays are rarely pure black.
- Edit one region at a time and review each before moving on.
- Crop tightly if OCR misses small text, then paste the edited crop back if needed.
- Treat the output as a draft until you have zoomed in and inspected it.
Where the Line Is
Editing screenshot text is a neutral capability, and the use case decides whether it is appropriate. Updating your own UI captures, fixing documentation, preparing localization previews, and redacting personal data are what this tool is for. Editing a screenshot to misrepresent what a person, app, or system actually displayed — conversations, records, receipts, or results — is prohibited by Imagelier's Terms. If an edit would make someone believe something false about a real event, do not make it.
Natural FAQ
Can I edit text in a screenshot without Photoshop?
Yes. A browser-based AI image text editor handles the full workflow — detect, remove, restore, re-render — that you would otherwise do manually in Photoshop. For a one-line fix it is dramatically faster, and there is nothing to install.
Why does my edited screenshot text look blurry?
Usually the source is the problem: the screenshot was scaled down or saved as a compressed JPEG before editing. Start from the original full-resolution capture, and on the free tier remember the output is limited to 720 px, which softens large screenshots. Pro output is high resolution, up to 4096 px.
Should screenshots be PNG or JPEG?
PNG. Screenshots are mostly flat color and sharp edges, which PNG stores losslessly. JPEG adds compression noise around letters — annoying for reading, worse for editing. If you only have a JPEG, the workflow still works; there is a separate guide on how to change text in a JPEG without Photoshop.
Will the replacement font match the original UI font?
Closely, but not always perfectly. Most UI text is a standard sans-serif, and picking a similar font at the right size and color gets convincing results. Custom branded typefaces are harder; keep replacements short and review the spacing.
Can I edit a screenshot taken on my phone?
Yes. Phone screenshots are PNGs at high resolution, which makes them good inputs. Upload them to the editor in the browser the same way as desktop captures.
Is it free?
Trying it is free: sign in and a new account gets 2 free edits, downloaded as watermarked 720 px results. Production-quality output — full resolution, no watermark — is part of the Pro plan at $9/month. See pricing.
About the Author
Imagelier is built by X2YLabs, an independent maker building AI tools for global users. Follow the build on X: @X2YLabs. This article was last updated on July 30, 2026.
Sources and Further Reading
Author
Categories
More Posts
Fix Typos & Garbled Text in AI-Generated Images
AI image generators still misspell and garble text. Learn when to regenerate, when to repair, and how to fix wrong words in about a minute — no Photoshop.
How to Change Text in a JPEG Without Photoshop
Change text in JPEG files directly in your browser with AI — update menu prices, fix poster typos, and localize labels without Photoshop, GIMP, or design skills.
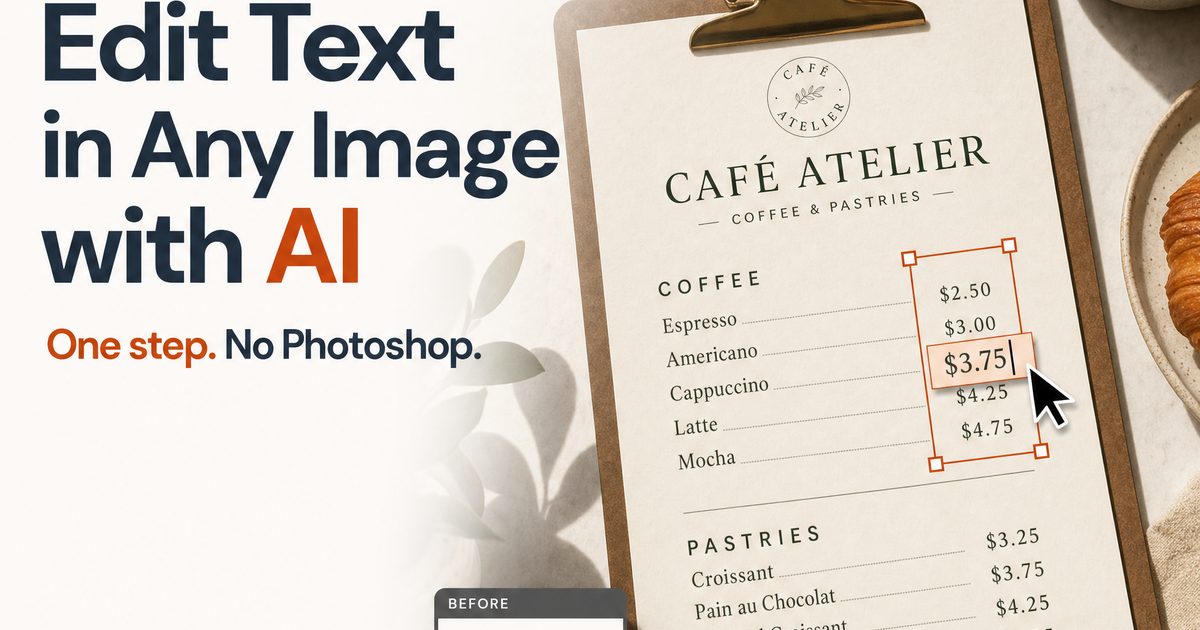
How to Edit Text in an Image with AI in 2026
A practical guide to replacing existing text inside images, screenshots, menus, posters, and product visuals without Photoshop.
Newsletter
Join the community
Subscribe to our newsletter for the latest news and updates